For convenience in overnight trips in our truck we added a sink. Actually, to be more accurate, we are in the process
of adding a sink. The outside storage tank, installation of the pump, plumbing and electrical are complete. Now I just have
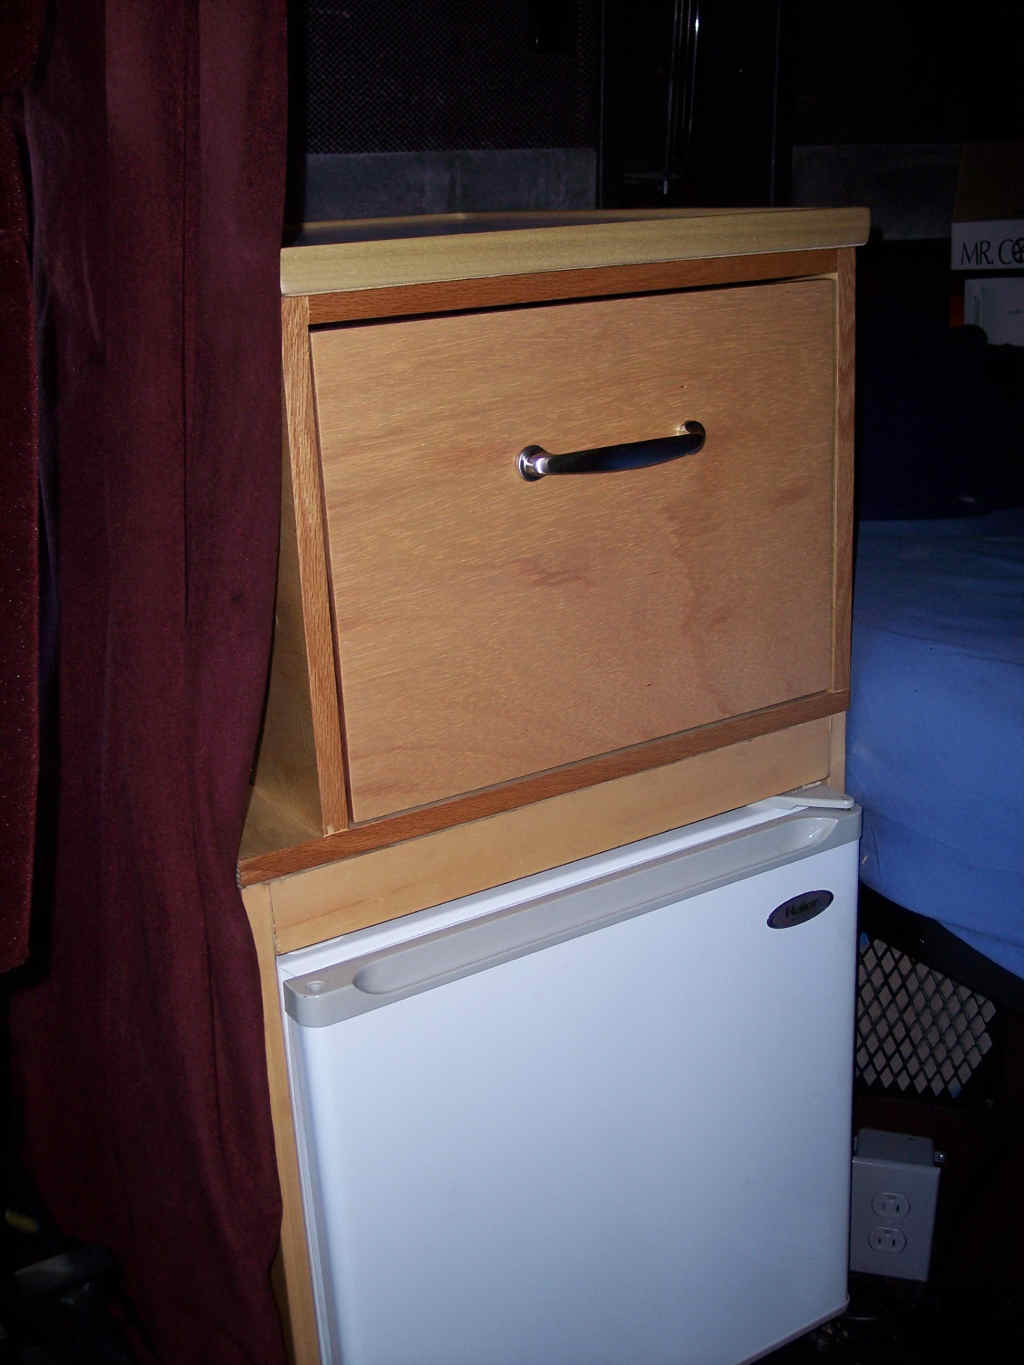
to complete the interior build and installation. The plan is to place the sink inside a drawer, so it is out of the way when
not in use, and to allow stacking of cabinets on the sink cabinet if we want to.
| Mark Pelow's sink in a drawer |
|
| Notice it is offset so the seat clears |
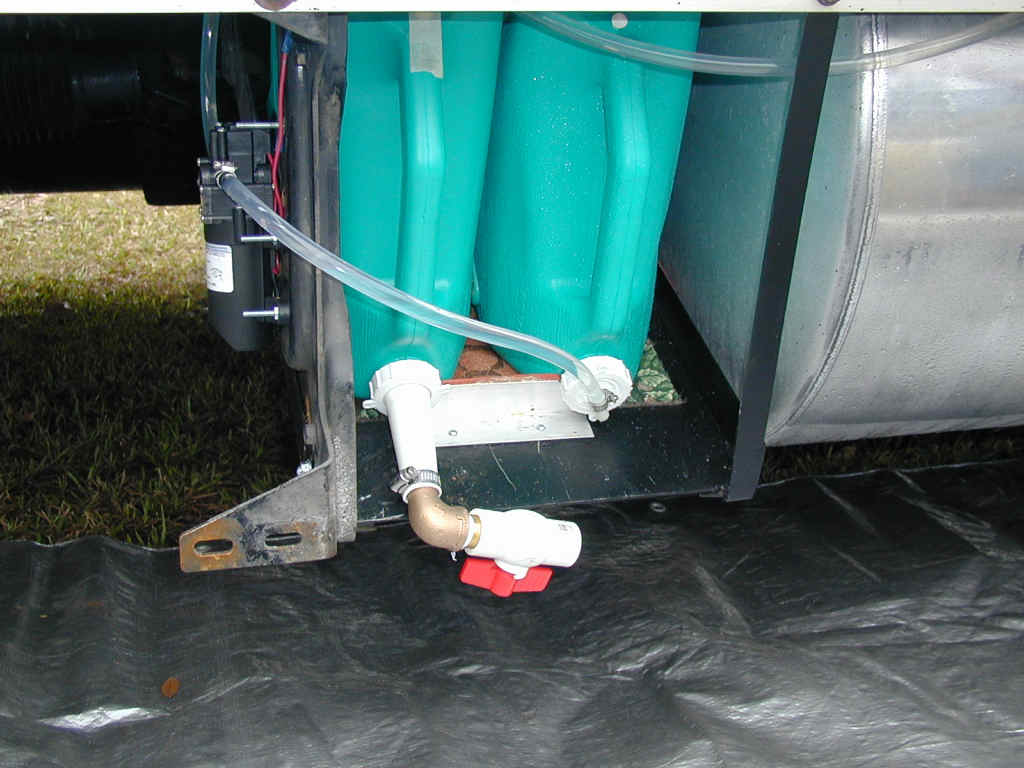
| Mark's tanks - two 5 gallon tanks |
|
| Lots of space behind passenger tank fairing |
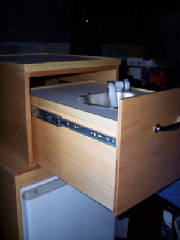
| Drain is on a flex arm. Faucet is folding RV type. |
|
On Mark's sink, pictured above, he used a small RV sink, with an RV trap. In our case we will use a 3-quart stainless
steel mixing bowl, and a small bar-sink trap. Mark's sink has a gray water tank, but ours will drain directly on the ground.
You can see Mark's tanks in the far right picture. Our tanks are a little different, since we don't require a drain tank.
All of these tanks are water carriers from Wal-Mart camping department. My blue tank holds 6 gallons. Mark's tanks hold 5
gallons.
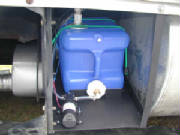
| Our fresh water tank. |
|
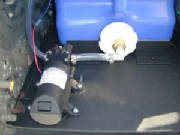
| Detail of plumbing fittings |
|
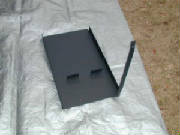
| Mounting plate attaches to tank brace on side |
|
| Attaches to fairing "track" on top |
The tank on my truck (and Mark's) is mounted behind the passenger fuel tank, and is attached to the rear fairing bracket
and the top (aluminum) fairing track with bolts. The rack itself is steel sheet metal welded to steel angles
and sits on a slant so that the water in the tank drains toward the front. If you look closely at the pictures you can see
the mounting points and the mounting angle.
The pump is part of the sink faucet kit. This is a typical Surflo RV (pop-up) folding faucet and pump kit. In my case
I was able to mount the pump in front of the tank. The fittings required to plumb this are going to be specific to the tank
you use, but you can see the ones I used in the closeups above and below.
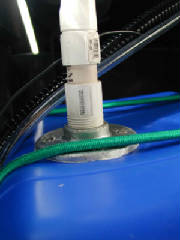
| Fill fitting. Plumbing flange caulked and screwed. |
|
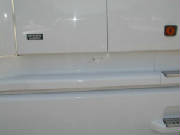
| The end result. |
|
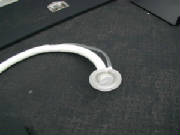
| Fill need air line added to hose |
|
For the tank fill I used a gravity fill fitting from Camping World and attached it to the upper fairing of the truck.
A hole saw makes the cut easily. The fill line enters the top of the storage tank via a plumbing flange that is screwed and
caulked to the tank. Since there is no pressure in the tank or fill line this works fine. The tank is sealed to outside air,
so there needs to be a way to add air to the tank as water is withdrawn. The fill fitting on the outside of the truck has
a small screened hose fitting for this purpose. You can see the small hose I added to allow air to reenter the tank as water
is withdrawn.
The storage tank is held in place on the slanted plate with bungee cords. To remove the tank or service the pump you
would have to remove the fairing, which is not a difficult job if there are no rusted bolts.
Return to Miscellaneous Projects
|
